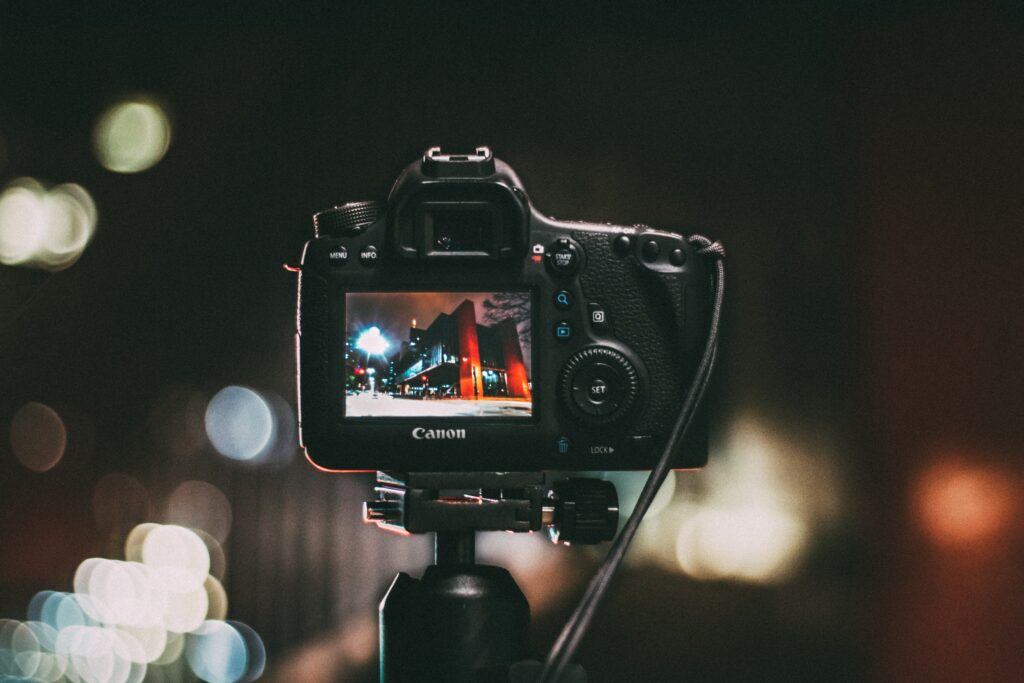
To operate a camera manually can seem intimidating at first, especially for those who are accustomed to using automatic modes. However, manual control over a camera’s settings allows for greater creativity and precision in photography. In this article, we will explore the steps and considerations for operating a camera manually.
Step 1: Understand the Basics Before diving into manual mode, it’s important to have a basic understanding of the three primary settings that control exposure: aperture, shutter speed, and ISO. Aperture refers to the opening of the lens that controls the amount of light entering the camera. Shutter speed is the duration of time that the camera’s shutter remains open, allowing light to enter. ISO refers to the camera’s sensitivity to light. Higher ISO values make the camera more sensitive to light but also increase the amount of noise or grain in the image.
Step 2: Set the Camera to Manual Mode Most cameras have a dial or button that allows you to switch between automatic and manual mode. Look for an “M” or “Manual” option on your camera’s mode dial. Once in manual mode, you will have full control over the camera’s settings.
Step 3: Set the Aperture In manual mode, you’ll need to set the aperture yourself. Aperture is measured in f-stops, with smaller numbers representing larger apertures (more light) and larger numbers representing smaller apertures (less light). A larger aperture (smaller f-number) creates a shallower depth of field, which is great for isolating a subject from the background. A smaller aperture (larger f-number) creates a deeper depth of field, which is useful for landscape photography where you want everything in the frame to be in focus. Experiment with different aperture settings to find the right balance for your shot.
Step 4: Set the Shutter Speed After setting the aperture, it’s time to set the shutter speed. Shutter speed is measured in seconds or fractions of a second. A slower shutter speed allows more light to enter the camera and is useful in low-light situations. However, a slower shutter speed can also introduce motion blur if the camera or subject moves during the exposure. A faster shutter speed freezes motion but allows less light into the camera. Again, experiment with different shutter speeds to find the right balance for your shot.

Step 5: Set the ISO Finally, you’ll need to set the ISO. In general, it’s best to use the lowest ISO possible to minimize the noise in the image. However, in low-light situations, a higher ISO may be necessary to achieve a properly exposed image. Keep in mind that higher ISO values can also reduce image quality, so try to strike a balance between sensitivity and image quality.
Step 6: Take a Test Shot and Adjust Once you’ve set the aperture, shutter speed, and ISO, it’s time to take a test shot. Review the image on the camera’s LCD screen and make any necessary adjustments. If the image is too bright, try increasing the shutter speed, decreasing the aperture, or lowering the ISO. If the image is too dark, try the opposite adjustments.
Step 7: Pay Attention to the Histogram The histogram is a graph that shows the distribution of light and dark pixels in the image. It’s a useful tool for ensuring that your exposure is properly balanced. A histogram that is weighted heavily towards the left (darker tones) indicates an underexposed image, while a histogram weighted heavily towards the right (lighter tones) indicates an overexposed image. Aim for a histogram that is balanced in the middle.
Step 8: Consider Using Manual Focus In addition to manually controlling exposure, you may also want to consider manually focusing your camera. This is particularly useful in situations where autofocus may struggle, such as in low light or when the subject moves rapidly. Most cameras have a focus ring on the lens that you can use to adjust the focus manually. Look for a switch on your lens that toggles between autofocus and manual focus. Once in manual focus mode, you can turn the focus ring to adjust the focus manually. Use the camera’s live view feature to zoom in on the subject and ensure it’s in sharp focus.

Step 9: Use a Light Meter If your camera doesn’t have a built-in light meter, consider using an external light meter to measure the light in your scene. A light meter measures the light falling on the subject and provides a suggested exposure based on that measurement. This can be particularly useful in situations where the light is difficult to measure accurately or when you want to ensure that your exposure is spot-on.
Step 10: Practice, Practice, Practice Operating a camera manually takes practice, so don’t be discouraged if your first few attempts don’t turn out as you had hoped. Take your camera out and experiment with different settings and lighting conditions. Try shooting in different modes and compare the results. The more you practice, the more comfortable you’ll become with manual mode.
In conclusion, operating a camera manually may seem daunting at first, but with practice and an understanding of the basic settings, it is a great way to take full control of your photography. Start with understanding the aperture, shutter speed, and ISO, set your camera to manual mode, and take a test shot while making adjustments until you get the desired result. Additionally, paying attention to the histogram and considering manual focus and light metering can help take your photos to the next level. Remember to have patience and keep practising, and you’ll be taking stunning photos in no time!


